


Git Hooks
Simply put, git hooks are custom scripts, which can be run automatically when specific events occur. There are client-side hooks which are triggered on actions such as committing or merging. Server-side hooks run in situations such as receiving push data from the client.
The hooks can perform any custom logic and most importantly reject the action performed if something is not in order. For example, you can abort commit if its message does not contain issue tracker's issue ID. Or, you can reject it if static code analysis fails. It can be pretty useful if you want to make sure your codebase stays clean or you want to enforce certain quality policies.
But how can you actually install and manage these hooks? Whenever you clone a git repository, all the git's data for your project is stored in .git directory inside your folder. It contains several files and sub-directories, one of which is called hooks. Inside you'll find a bunch of files.
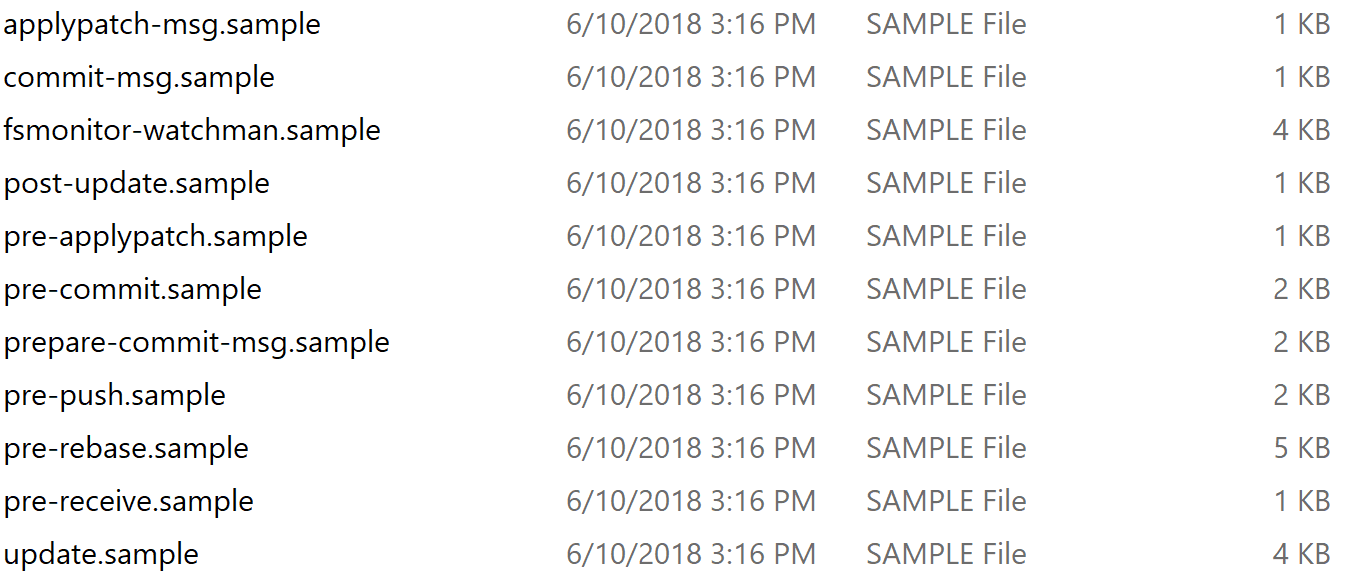
Each of them is a script, which is executed once a specific event occurs. The name of the event matches name of the file. So for example pre-commit is executed before you commit your changes.
As you can see, all the files have extension .sample. Git ignores these files unless you rename them - you need to remove the .sample extension to enable these hooks. Inside the sample files, you can find some description and sample implementation, which you can use as a starting point when implementing your own hooks.
What is it good for?
Now, let's look at some specific examples of what can be achieved with git hooks. Since they're just scripts, you can do pretty much anything. Usually, that means making various quality checks.
You can make sure user has their name and email filled. You can check the commit message is properly formatted. You can try to build your app and reject the commit if the build fails. You can run tests to make sure they are passing before commit.
Typical usage is also static code analysis or linting. That means checking your code for common issues, bad practices, naming conventions and more. It can also be useful to run a tool such as Prettier to make sure the code is nicely formatted before commit. This saves many headaches during code reviews. You can even check your code for security vulnerabilities with a tool like Snyk.
Snyk – Detecting dependencies with known vulnerabilities
Nov 22, 2017

Distribution to team members
With server-side hooks the distribution is easy. You usually have just one primary server repository. This means all the team members usually push their changes to one central place. You set up your hooks there and you're done.
With client-side hooks, this gets more complicated. When you clone a repository, the hooks are not transferred to the client. That means a freshly cloned repo does not have any hooks at all no matter what hooks you have server-side. If you want your team members to have unified set of git hooks, you need to distribute them somehow and make sure they are included in their git hooks sub-directory.
The most basic solution is to have some shared location, where you store your hooks and then tell your developers to download them and put them in their hooks directory. Of course, you cannot be sure that they will actually do it. The problem is they need to know they should do this and how. And even if they do, they may be lazy or just ignore your policy.
You can improve this basic solution a bit by having hooks in your project's repo and just let your developers run a custom script like this one, which copies them over to their hooks directory. Alternatively, git offers an option to change the destination of the hooks directory to a custom location:
git config core.hooksPath YOUR_DIRECTORYThese solutions make the distribution easier, but don't solve the core issues.
Husky
Installation
You can install Husky simply by running:
npm install husky --save-devAlternatively, with yarn:
yarn add husky --devAdding hooks
Adding hooks with Husky is easy. You just need to edit your package.json. There you define which scripts should be run on which git event.
{
  "husky": {
    "hooks": {
      "pre-commit": "npm test",
      "pre-push": "npm test",
      "...": "..."
    }
  }
}
The example above runs all your tests before you commit and before you push and if your tests fail the git action is not executed. Of course, you can run any other npm script rather than npm test.
If you don't want to include Husky configuration in your package.json file, you can create a dedicated config file just for Husky. It needs to be named .huskyrc, huskyrc.json or huskyrc.js. Then you can provide similar configuration as in package.json:
{
  "hooks": {
    "pre-commit": "npm test",
    "pre-push": "npm test"
  }
}
This can be useful, for example, when you want to have Husky just for yourself and not everyone using your project. You can add .huskyrc to .gitignore. Otherwise, you would need to keep local changes in your package.json and keep them uncommitted. When somebody else would update the file, you would need to resolve the conflict every time.
Autofix issues before commit
It is useful to break the build if something is not right, but it is even more useful to auto-correct issues before committing. For example, you can prettify your code using Prettier before commit or you can auto-fix lint issues, which can be resolved automatically. It is much easier this way.
Fortunately, there is a tool exactly for this. It is called lint-staged. You can install it by:
npm install --save-dev lint-stagedNow on your pre-commit action, you execute lint-staged instead of your linter directly. In lint-staged configuration you define what should be executed:
{
"husky": {
    "hooks": {
      "pre-commit": "lint-staged"
    }
  },
 "lint-staged": {
   "*.js": ["eslint --fix", "git add"]
 }
}
When you try to commit now, lint-staged can change your files before the commit is executed. However, what's really cool is that you are linting only files staged to commit, not your whole project. That means the whole process is way faster.
JetBrains IDE bug
UPDATE: The bug described below is fixed in version 2018.3, if you are using an older version you can use this workaround:
"post-commit": "git update-index -g"The good news is that git hooks configured in this way are executed not only when you use git from your command line, but also from an IDE. The bad news is that JetBrains IDEs (IDEA, Webstorm, ...) have currently a nasty bug (see IDEA-135454) and doesn't work well with this setup.
The issue is not resolved for several years, but fortunately, there is a workaround. You just need to add this post-commit hook:
"post-commit": "git update-index -g"
Of course, this is just workaround until the issue is fixed. JetBrains's issue tracker contains voting functionality, so be sure to vote for this issue to be resolved if it causes you trouble.
Continuous integration
One thing to note is that Husky installs the hooks only when not running on a Continuous Integration server. Husky can detect it is running as a part of CI job and will not install any hooks.
Ignoring
Client-side hooks can be useful, but you cannot rely on them too much. They are just the first level of defense. You cannot be 100% sure that they get executed. They can be ignored on demand by adding a command-line option:
git commit --no-verifyTo make things even easier, the hooks can be disabled using certain environmental variables. Because of this, it is still useful to enforce the same functionality on the server.
Performance
While client-side hooks such as pre-commit can be very useful, you need to keep in mind that they take some time to execute. Commits, which are usually very fast as they happen only on the client, can suddenly take very long time. You may be tempted to run all the tests, static code analysis, prettification and more before each commit. When a commit takes ages, your developers will not be happy and may be tempted to ignore the hooks when performing their git commands. So you should find the right balance between what needs to be performed on the client and what can be a server-side hook.
Conclusion
Husky is a useful tool, which allows effortless creation and management of git hooks on the client. You no longer need to distribute your hooks manually. As with everything, keep the number of your client-side hooks in moderation to avoid long execution times.
